This easy Plain Scones recipe makes classic British scones that are tall and light, with a soft centre and slightly crisp outside. Made without eggs and using simple everyday ingredients, they’re based on the tips and techniques my baker Mum has taught me over the years.

Plain Scones Recipe Snapshot
- Texture: Tall and light, soft inside with a slightly crisp outside.
- Flavour: Slightly sweet – perfect for serving with butter and jam.
- Difficulty: Easy, but a light touch makes all the difference.
- Prep: About 15 minutes.
- Rest: 10 minutes.
- Bake: About 10 minutes.
- Makes: About 10 scones with a 6cm cutter.
- Eggs: None – they aren’t necessary for a great everyday scone.
- Best Tip: Cold ingredients, hot oven, don’t use a rolling pin or twist your cutter.
- Best Served: Fresh on the day they’re baked, preferably still a little warm.
Summarise & Save this Recipe on:
What Are Plain Scones?
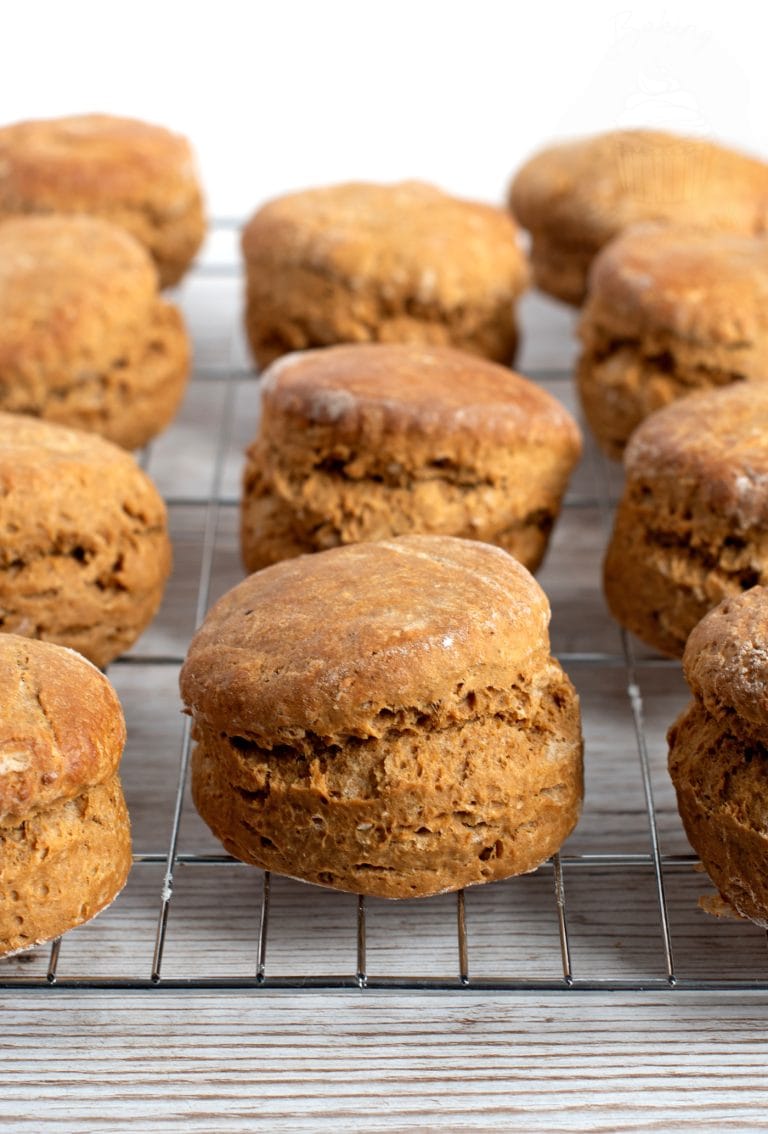
Plain Scones are a classic British bake made from a simple dough of flour, fat and milk, baked quickly in a hot oven until well risen and golden. They should be light and soft inside with a slightly crisp outside, and are usually only lightly sweetened so they can be served with butter, jam or cream.
Unlike richer scones – such as my Victoria Scones – plain scones don’t need eggs in the dough. This recipe uses yoghurt alongside milk to give a soft texture, while the real difference comes from how the dough is handled – keeping the ingredients cold and the oven hot, while working it lightly and avoiding anything that knocks out the air before baking.
My Plain Scone Recipe
My Mum has always had a knack for scones. I can still remember when we were expecting visitors when I was a kid – she would be in the kitchen whipping up a batch of homemade plain scones in no time at all. The recipe was always straight from memory too. No scales, no measuring cups…all from memory and feel, yet they always, without fail, turned out perfectly.
In theory, scones are one of the easiest things you can bake. They use simple ingredients and come together quickly, making them a staple of traditional British baking. But in practice, getting them light, soft and well-risen can take a little bit of practice. Over the years, Mum has taught me all her little tips and tricks for making great scones, and I’ve used them all to develop this Plain Scones recipe.
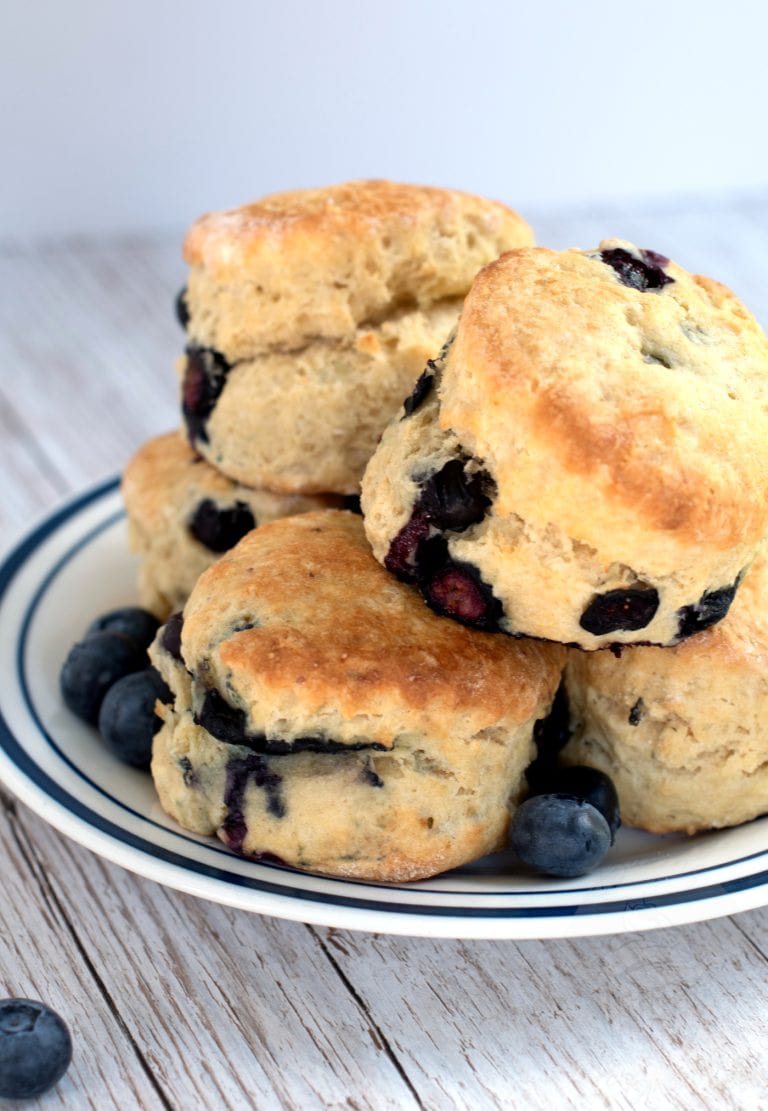
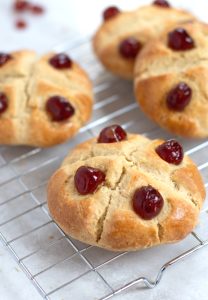
It’s also the base recipe I use for most of my other scones. Once you’ve mastered the plain version, it’s easy to adapt the dough into Fruit Scones, Cherry Scones, Blueberry Scones or easy Cheese Scones.
In fact, this was exactly how Mum used to do it. She would start with a plain scone dough, set aside a few simple ones for us fussy kids, then mix sultanas, cheese or cherries into the rest for the grown-ups. One easy base recipe, but plenty of different scones to enjoy.

Key Ingredients
See the recipe card for a full ingredients list, required quantities and cup conversions.
Substitutions & Additions
Butter or Margarine: I usually use cold block margarine for my scones because it gives me predictable results every time, but cold unsalted butter works just as well. There isn’t a huge difference in flavour between the two, as the fat isn’t the main flavour of the scone, so use whichever one you prefer.
Whichever you choose, keep it as cold as possible until you’re ready to use it.
Yoghurt: Plain yoghurt is my preference because it’s easy to find and gives the dough ingredients the reaction and consistency I’m looking for. But I’ve also successfully made these scones with buttermilk, sour cream and crème fraîche. Sour cream and crème fraîche will give you a slightly richer, creamier scone.
Glaze: I usually brush the tops with a little milk before baking. You can use beaten egg instead for a deeper golden, shinier finish, but I don’t often carck an entire egg just for glazing a batch of scones. Whichever you use, brush it over the tops only – glaze running down the sides can set before the scones have finished rising and then restrict their rise.
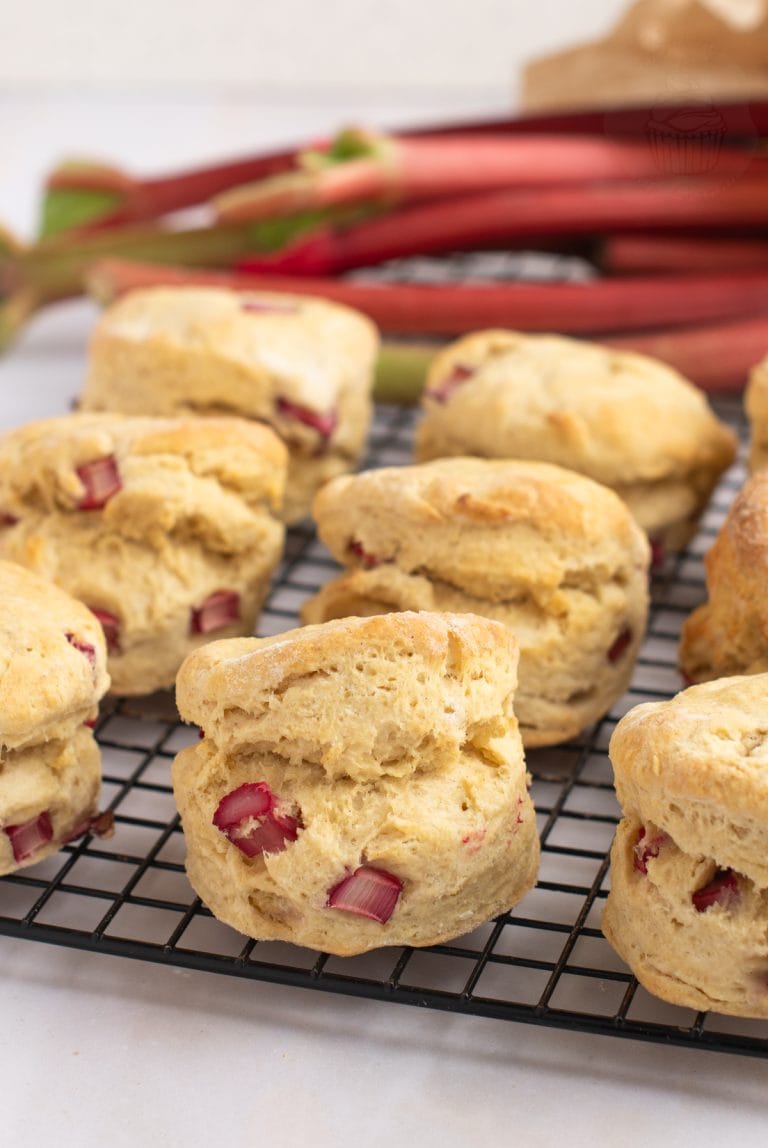
Addititions: This Plain Scones recipe is the base I use for many of my other scones, but I’d usually recommend checking the dedicated recipe rather than simply adding extras directly to this dough. Try my Fruit Scones, Cherry Scones, Blueberry Scones, Rhubarb Scones or Cheese Scones, where the quantities and method have been adjusted (and tested!) for each variation.
Looking for dairy-free, gluten-free or vegan adaptations? See the Free-from & Vegan section below.
Free-from & Vegan
Gluten-free Options:
You can use gluten-free self-raising flour as a straight swap for the self-raising flour in this recipe., but the texture may be slightly different and the amount of liquid needed could vary. Use the dough texture as your guide – you’re still aiming for soft and quite sticky, rather than dry or crumbly.
Nut-free Adjustments:
This recipe contains no nuts, but as always, be sure to double-check the allergen lists for your individual ingredients.
Dairy-free Swaps:
Use a dairy-free block margarine in place of the regular margarine/butter, along with your preferred dairy-free milk alternative and plain dairy-free yoghurt. I’ve successfully made scones using many non-dairy alternatives, so this is an easy swap.
Egg-Free Adaptations:
Eggs aren’t needed in the dough for a good everyday scone, so there’s no substitution required. If you want a shinier finish without using an egg o glaze your scones, whisk a little sunflower or vegetable oil into the milk before brushing it over the tops.
Vegan Substitutions:
Make the dairy-free swaps above. For glazing, whisk a little sunflower or vegetable oil into your dairy-free milk before brushing it over the tops. This gives a shinier finish than using milk alone, while keeping the scones completely vegan.
Allergy Disclaimer & Resources:
Any advice or suggestions to make recipes “free-from” or vegan are purely suggestions. Please double-check all packaged ingredients individually, taking extra caution when baking for those with allergies or intolerances.
For official guidance on food allergies, please see Food Standards Agency (food.gov.uk) | For more info on coeliac disease, please see Coeliac UK (coeliac.org.uk) | For more info on a vegan diet, please see The Vegan Society (vegansociety.com)
How to Make Plain Scones
These Plain Scones are quick to make, but keep your ingredients cold and handle the dough lightly for the best rise. Follow the step-by-step below, or head to the recipe card at the bottom for the full printable recipe.
- Mix the dry ingredients. Preheat your oven to 220°C (200°C fan-assisted ovens, Gas Mark 7 or 425°F). Sift the flour, salt and baking powder into a large bowl, then stir through the caster sugar.
- Rub in the fat. Using your fingertips, lightly rub the cold margarine/butter into the flour to form tiny pieces, until the mixture is a sandy consistency.
- Make the dough. Whisk the cold milk and yoghurt together, then gently mix into the dry ingredients until you have a soft, quite sticky dough.
- Shape the dough. Turn onto a lightly floured surface and use your hands (not a rolling pin!) to gently stretch the dough to around 2cm (¾ inch) thick.
- Create the perfect split. Fold the dough over on itself, then gently stretch it again until around 2-3cm (¾-1 inch) thick. This creates the natural split through the middle of the baked scone.
- Cut the scones. Press a 6cm (2½ inch) cutter straight down into the dough without twisting. Gently reshape the scraps and continue cutting until all the dough is used.
- Rest and glaze. Place the scones on a baking tray with a little space between them and rest for around 10 minutes. Brush the tops with milk or beaten egg, keeping the glaze away from the sides.
- Bake. Bake for around 10 minutes, until the tops and bottoms are golden and the scones sound hollow when tapped underneath. Leave until cool enough to touch before serving.

Top Tips for Plain Scones
- Cold Ingredients, Hot Oven: Use your margarine/butter, milk and yoghurt straight from the fridge. If your kitchen is particularly warm, pop the fat in the freezer for a few minutes before starting. And make sure your oven is pre-heating before you begin and hot before baking.
- Keep the Air In: Sift the flour from a little height, use your fingertips when rubbing in the fat and handle the dough lightly once the liquid is added.
- Don’t Dry Out the Dough: Scone dough should be soft and quite sticky. Flour your hands and worktop rather than adding any extra flour to the dough.
- Put the Rolling Pin Away! Gently stretch and pat the dough with your hands instead. You’ve spent the whole this process trying to get air into the mixture, so you don’t want to squash it all back out now.
- Press the Cutter Straight Down: Never twist it!! Twisting compromises the sides of the scone and can stop it rising evenly upwards – one of those little tips my Mum taught me that really does make a big difference, and one I follow in all my scone recipes.
- Rest Before Baking: Letting the scones rest for around 10 minutes gives the dough time to relax and helps you get softer scones. I usually use the time to do the dishes and clear up!
- Glaze the Tops Only: Both milk or beaten egg work, but don’t let the glaze run down the sides. It can then cook before the scone has finished rising and effectively hold the tops down.
How to Serve Plain Scones
Plain Scones are best served fresh, ideally while they’re still a little warm. I like mine simply split open with butter and jam.
You can, of course, serve them with clotted cream and jam for an afternoon tea-style scone, but that’s more of an English tradition than how I’d usually eat them here at home in Scotland.
Once completely cooled, they’re still lovely as they are, or can be warmed slightly before serving.
Storage & Freezing
- Storage: Plain Scones are best enjoyed on the day they arere baked, when they’re at their freshest and softest inside, with that slightly crisp outside. Once completely cooled, store any leftovers in an airtight container at room temperature for 1-2 days. If they’re a little past their best the next day, you can warm them slightly before serving, which helps bring back some of that freshly baked texture.
- Freezing: Baked scones freeze well. Once completely cooled, place in an airtight container or freezer bag. Defrost at room temperature, then warm gently before serving if you like.

Plain Scones FAQs
Scones will rise as they bake, but don’t expect them to double dramatically in height – the dough is fairly heavy, so a good scone also relies on the thickness of the dough before it goes into the oven. Try not to flatten the dough too much – it should be at least 2-3cm (¾-1 inch) thick before cutting.
For the best rise, keep your ingredients cold, handle the dough gently with soft hands and avoid overworking it. Let the cut scones rest for around 10 minutes before baking, and press your cutter straight down rather than twisting it, as twisting can compromise the sides and stop them rising evenly upwards.
No. Traditional everyday scones do not need eggs in the dough. They were originally a quick, inexpensive bake made with fairly simple ingredients, and this Plain Scones recipe is deliberately egg-free. Richer scones, such as my Victoria Scones, can include egg, but it isn’t necessary for a good plain scone.
Yes. To replace the 450g self-raising flour in this recipe, use 450g plain flour (all-purpose) with 6 teaspoons baking powder, then still add the extra 2 teaspoons baking powder also called for in the recipe. That gives you 8 teaspoons of baking powder in total.
The dough for these scones should be soft and quite sticky. It should hold together, but it will stick to your hands and worktop if they aren’t well-floured. Try not to add lots of extra flour just to make the dough easier to handle, as a drier dough can give you heavier scones.
More Scone Recipes
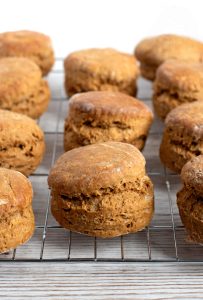
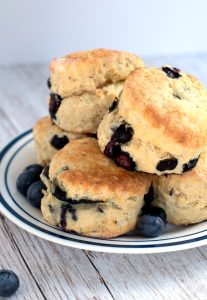
If you loved these traditional Plain Scones, here are some more of my favourite Scones recipes for you to try next:

Save this recipe!
Want to save this recipe for later? Pop your email below and come back to it when you’re ready to bake.

Plain Scones
INGREDIENTS
- 450 g Self-raising Flour (see Self-raising Flour note below; plus extra for dusting)
- Pinch of Salt
- 2 tsp Baking Powder
- 50 g Block Margarine or Butter (cold; cubed; plus extra for greasing)
- 50 g Caster Sugar
- 200 ml Milk
- 100 ml Plain Yoghurt (dairy, soya, coconut…)
EQUIPMENT
INSTRUCTIONS
- Preheat your oven to 220°C (200°C for fan-assisted ovens, Gas Mark 7 or 425°F). Grease a couple of
baking trays with a little extra margarine/butter and set aside. - Sift the flour, salt and baking powder into a large bowl, holding the sieve up to allow some air into them. Gently stir in the sugar.450 g Self-raising Flour; Pinch of Salt; 2 tsp Baking Powder; 50 g Caster Sugar
- Using the tips of your fingers, rub the margarine/butter into the dry ingredients, again lifting as you do to allow air in. Continue until you have a sandy consistency.50 g Block Margarine or Butter
- Create a well in the middle. Whisk the milk and yoghurt together before pouring into the well. Using your hands, gently bring the ingredients together to form a soft, slightly sticky dough.200 ml Milk; 100 ml Plain Yoghurt
- Turn onto a well-floured surface. Using your hands rather than a rolling pin, gently stretch the dough to around 2cm (¾ inch) thick. Fold the dough over on itself, then gently stretch again to around 2-3cm (¾-1 inch) thick. This helps create the natural split through the middle of your baked scones.
- Using a cutter of your choice, cut out your scones and place them onto your pre-greased
baking trays . The smaller your cutter, the more scones you will get. Reform, stretch and fold the dough as required to use all of the dough. - Leave your scones to rest on the
baking trays for around 10 minutes, then brush the tops with a little milk or beaten egg, taking care not to let the glaze run down the sides. - Bake in your preheated oven for around 10 minutes, until the tops and bottoms are golden and the scones sound hollow when tapped underneath. Smaller scones may require slightly less time.
- Once cool enough to touch, transfer to a wire cooling rack to cool completely, or enjoy while still warm.
IMPORTANT NOTE:
All my recipes are developed using a digital scale and the metric system (grams and millilitres). Cup measurements are available as a conversion, but these, unfortunately, won’t always be as accurate. For best results, I always recommend baking with a digital scale.
RECIPE NOTES:
LIKE THIS RECIPE?
Leave a comment and rating below!Originally published in October 2023.